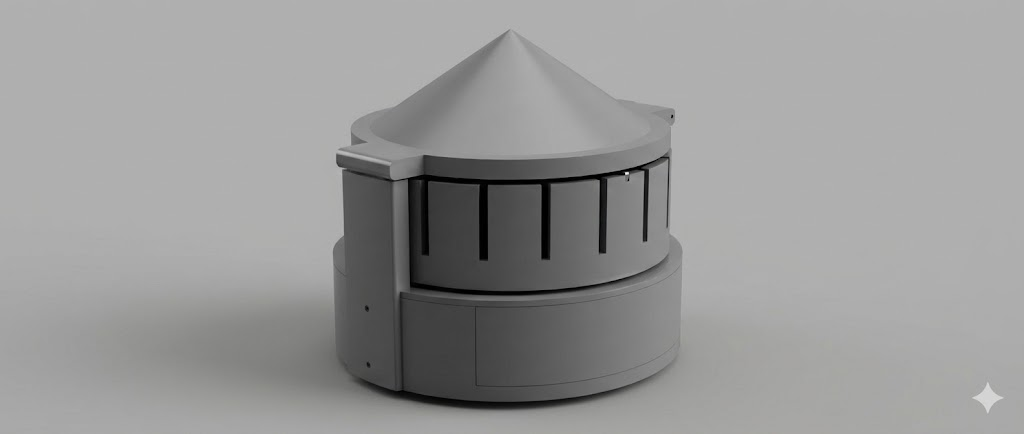
Escape Room Motorized Zoetrope
Current Status: Final Printing & Assembly
I am the team lead of four senior mechanical engineering students designing and building a custom electromechanical puzzle for an escape room. The device features a remote-triggered spinning drum that requires players to turn a potentiometer knob to reach the viewing speed necessary to see a hidden animation, leading to the next part of the escape room.
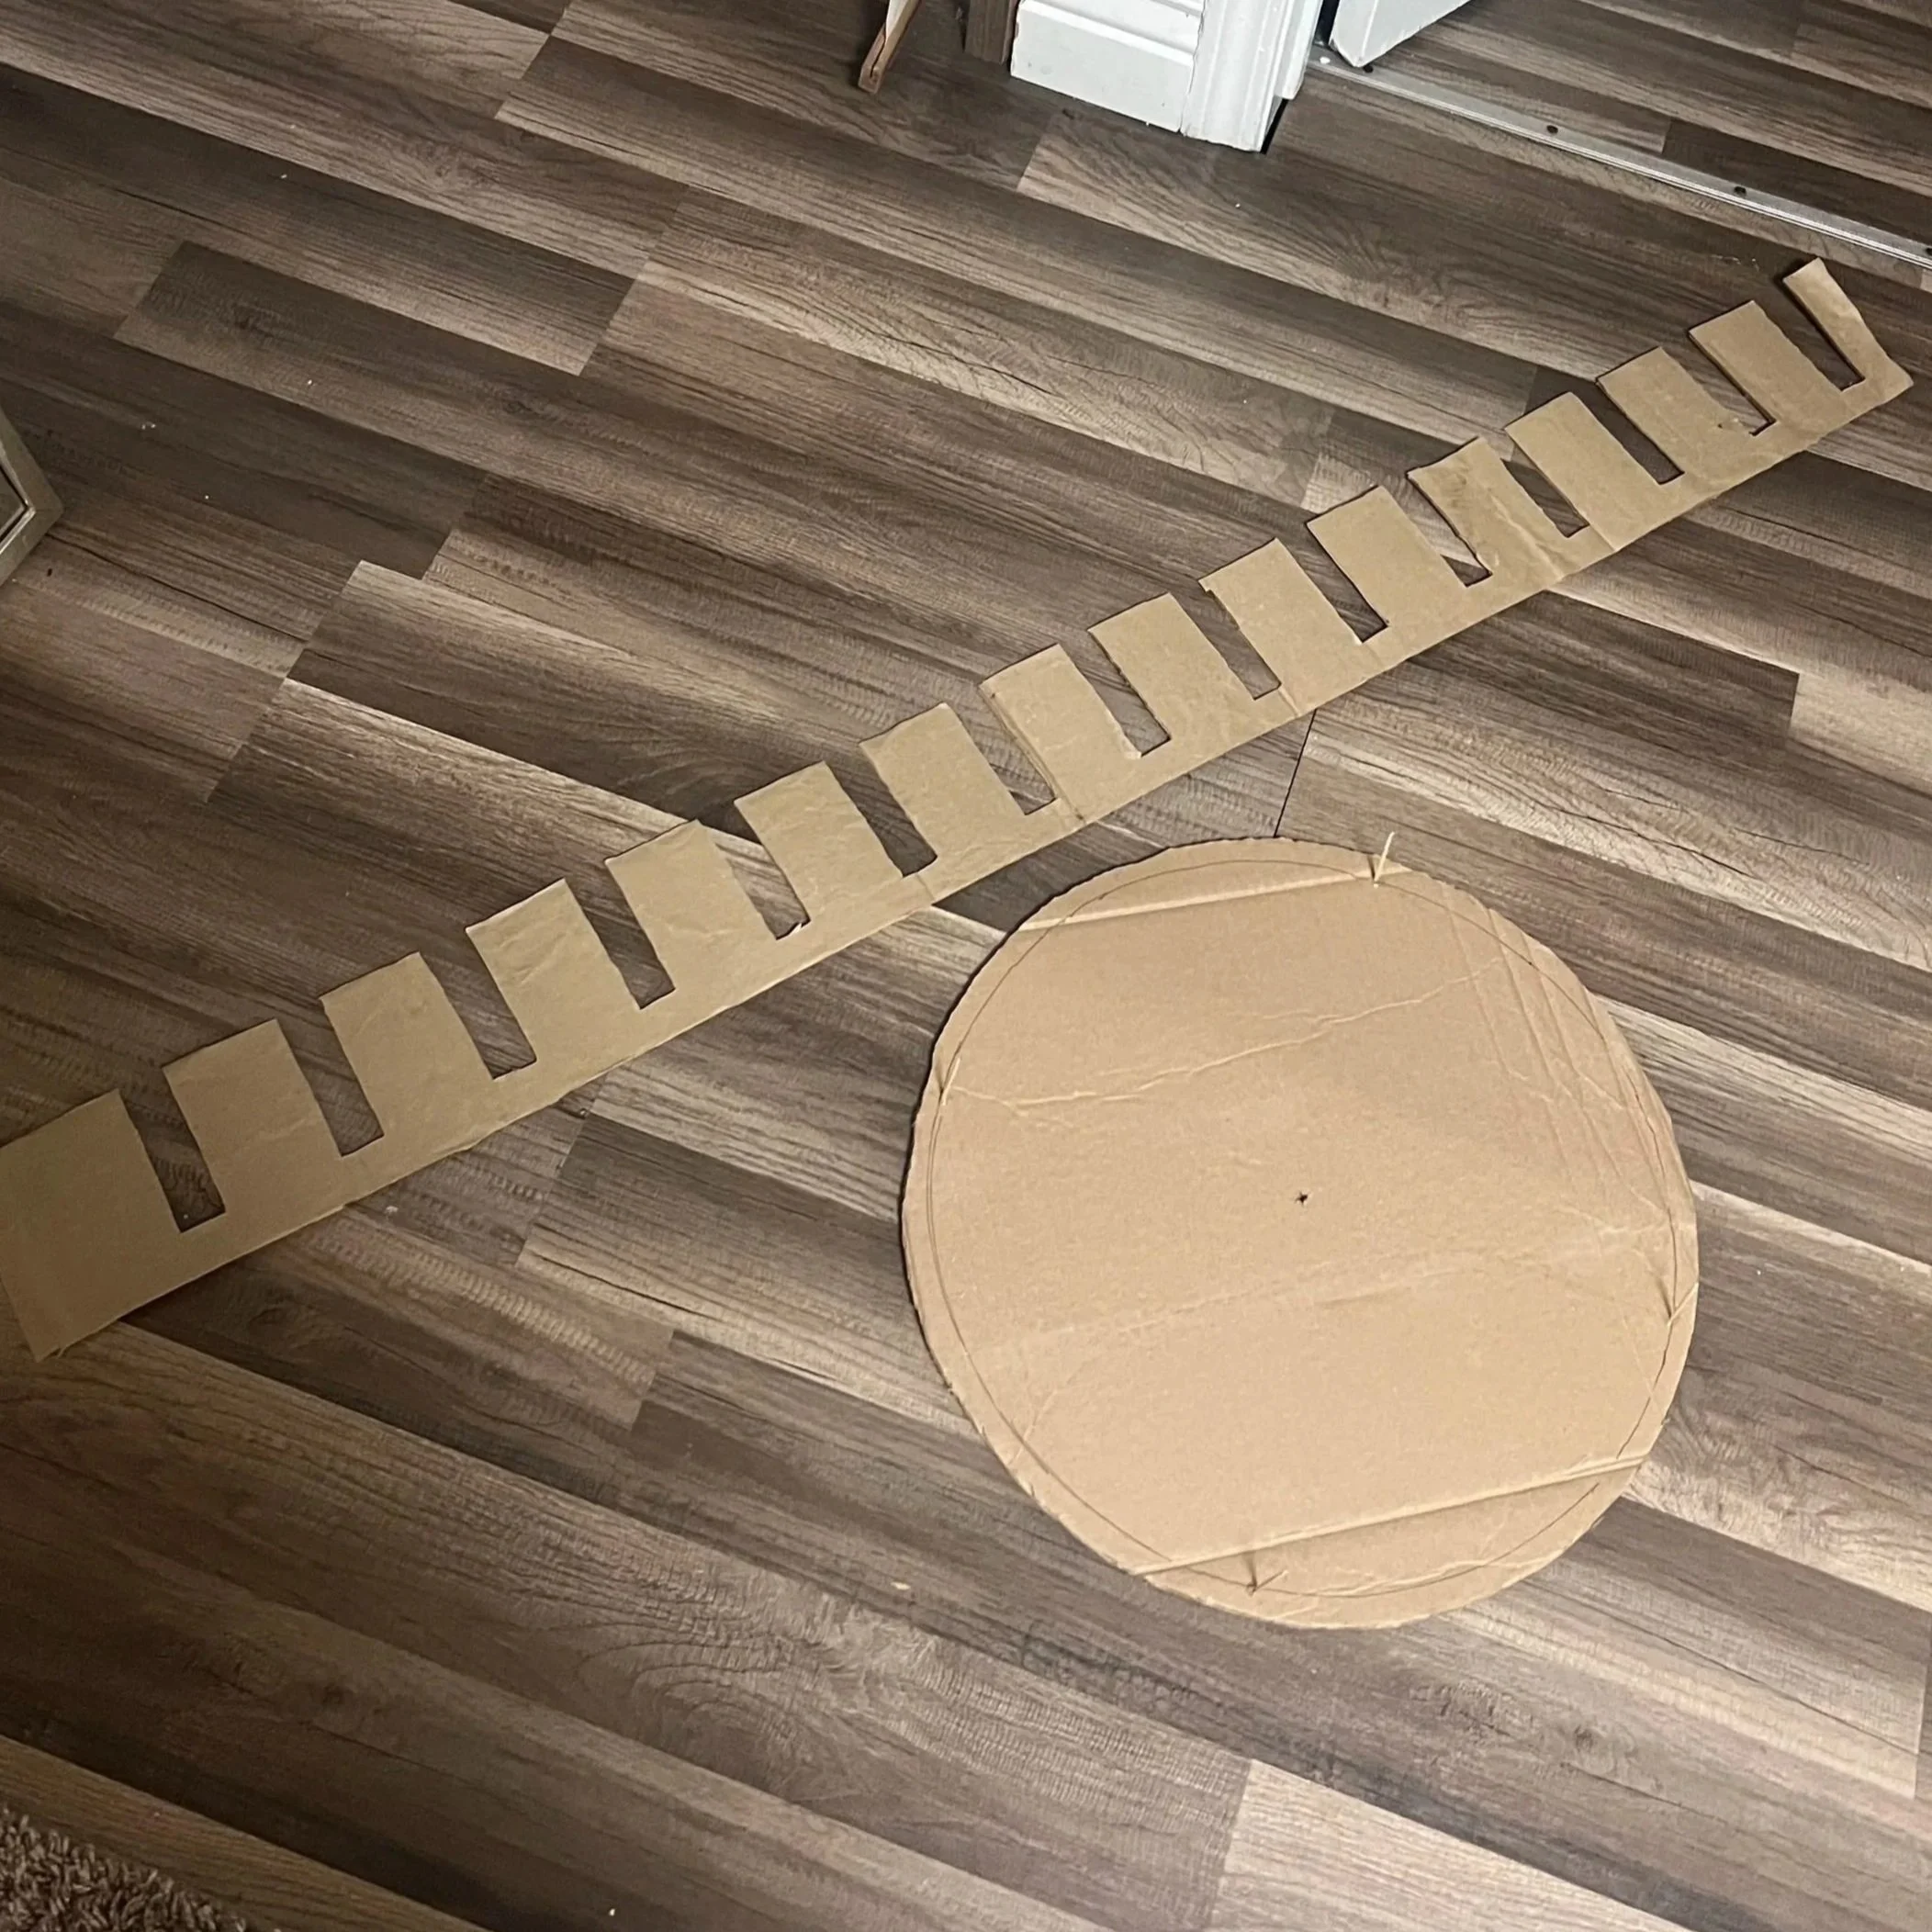
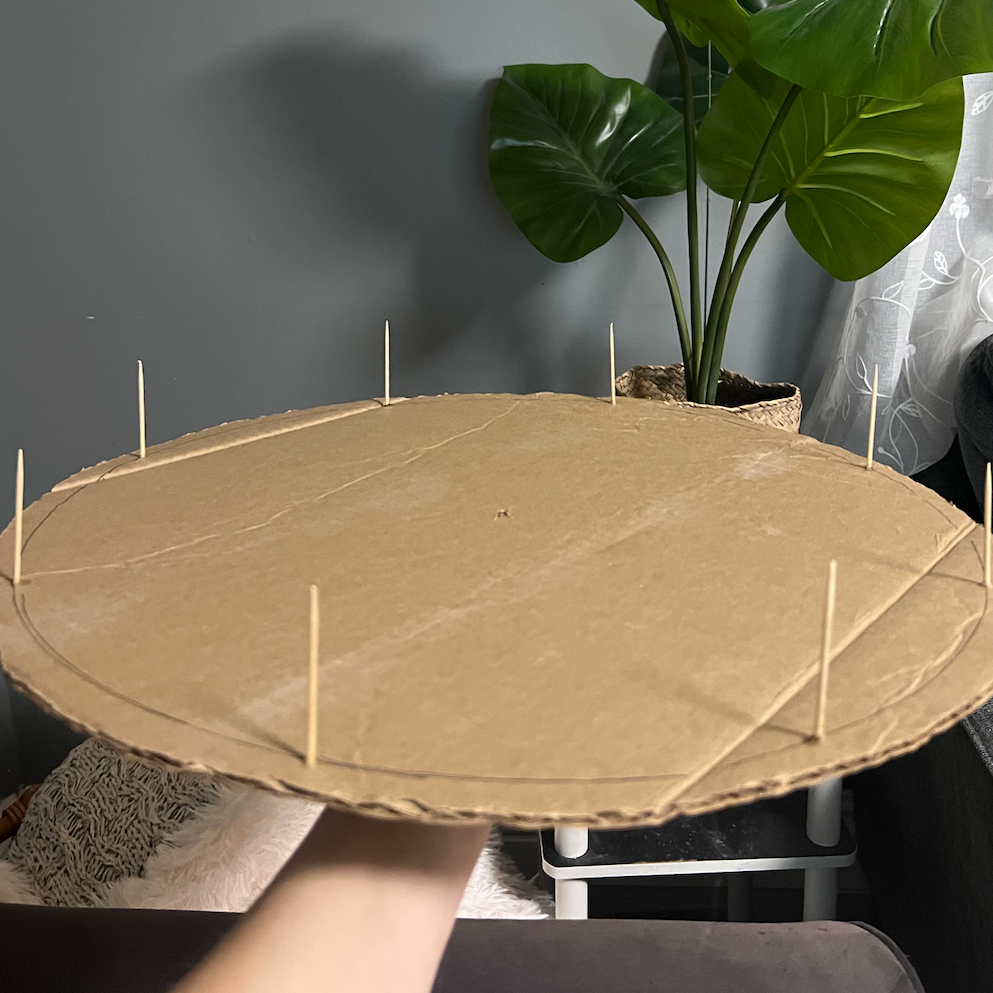
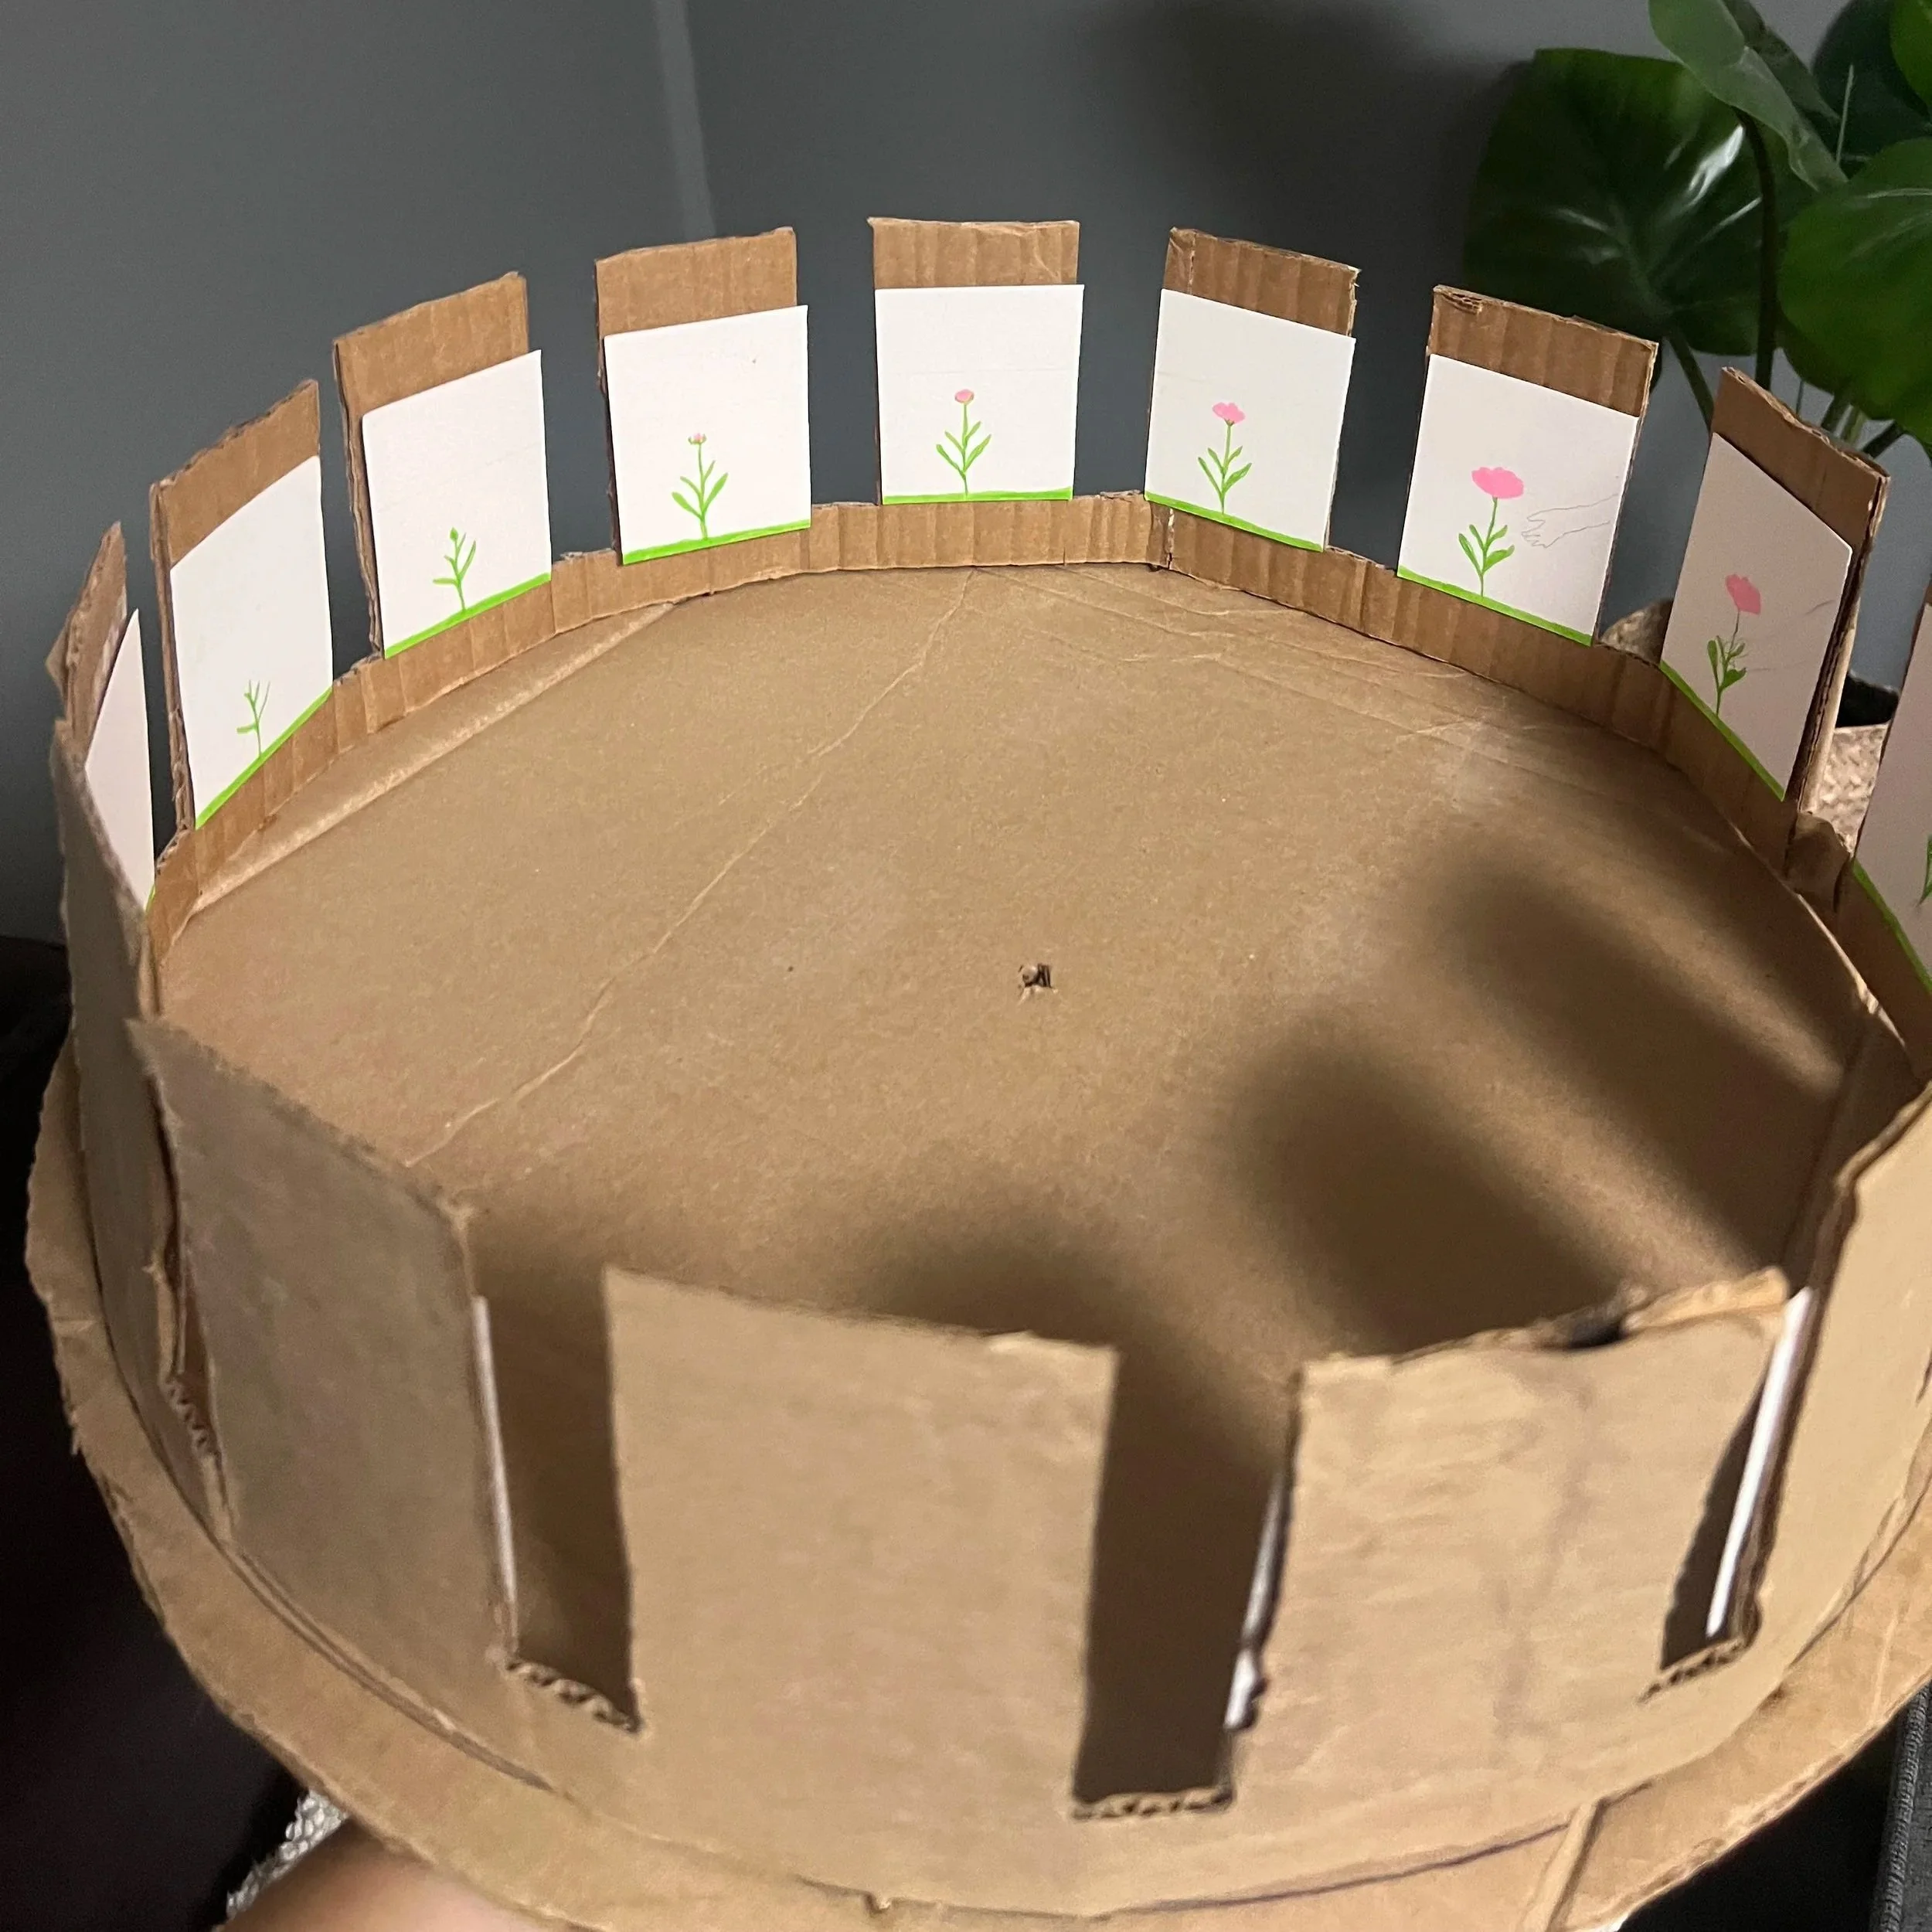
Cardboard Model
To determine the visual dimensions of the zoetrope, a prototype was built using cardboard, toothpicks, and construction paper. This model was used for calculating the optimal slit width relative to the 1.5-foot drum diameter. Through iterative testing, 0.3 inches was identified as the ideal size to simulate frame-by-frame animation. Additionally, this prototype revealed that the animation requires high-contrast colors to remain visible at high speeds.
Prototyping
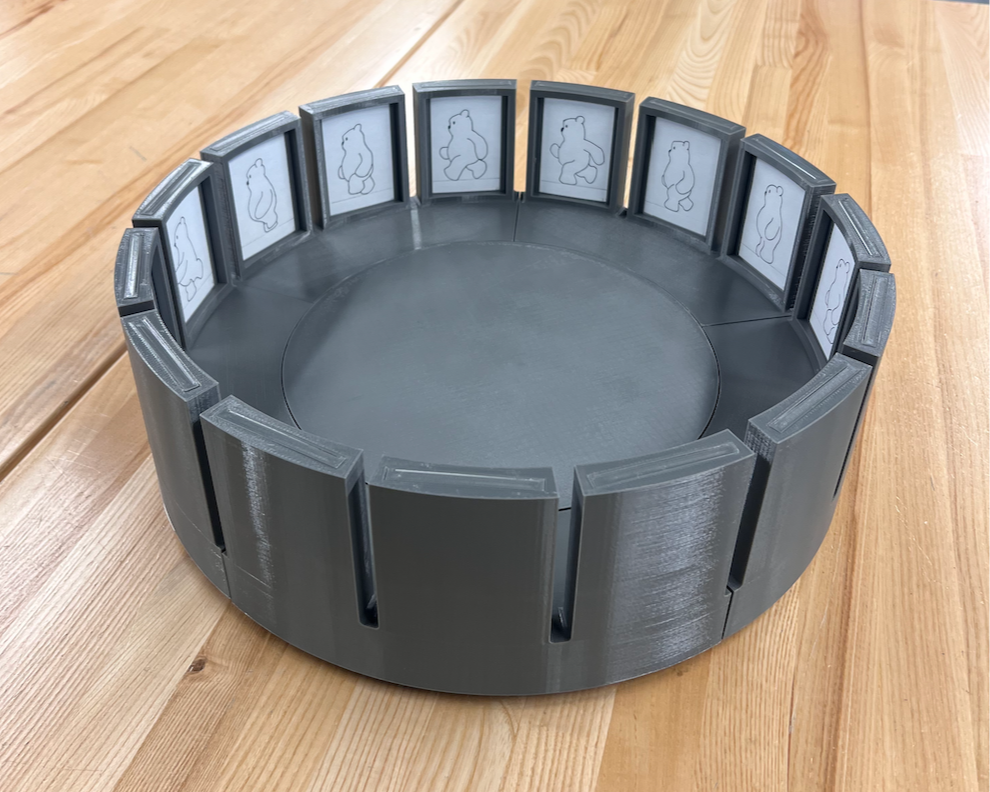
Removable Panels
The drum of the zoetrope has five panels with handles that players must locate within the escape room and correctly position into the drum. Once these panels are in the correct spots, the game master turns on the zoetrope via remote, and rotation begins. The staff-removable panels are designed to sit flush against the top of the drum so they remain inaccessible to players and can only be swapped by staff when the lid is opened.
Staff Removable (no handle)
Player Removable (handle)
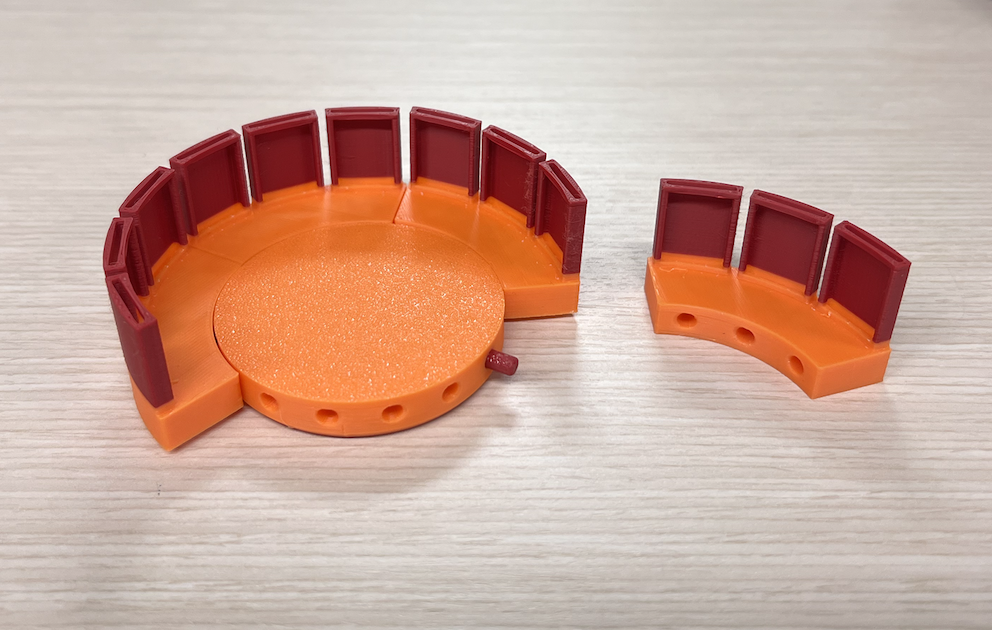
Scaled-Down Drum
We printed a 2-inch drum to better understand the dowel connections needed to assemble the drum. Instead of circular pin holes shown, we decided to use larger-sized rectangular dowel connections. This design change provides significantly higher shear resistance and much smoother alignment when assembling.
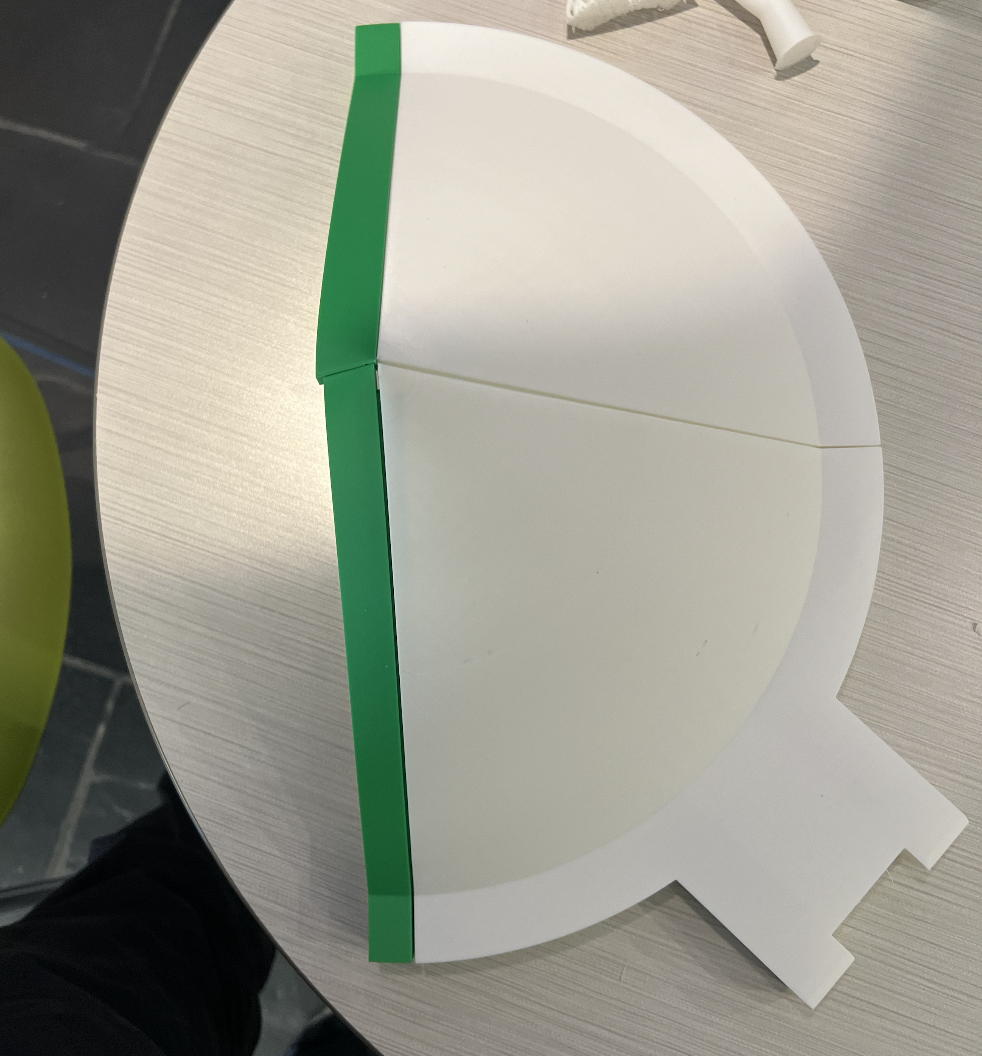
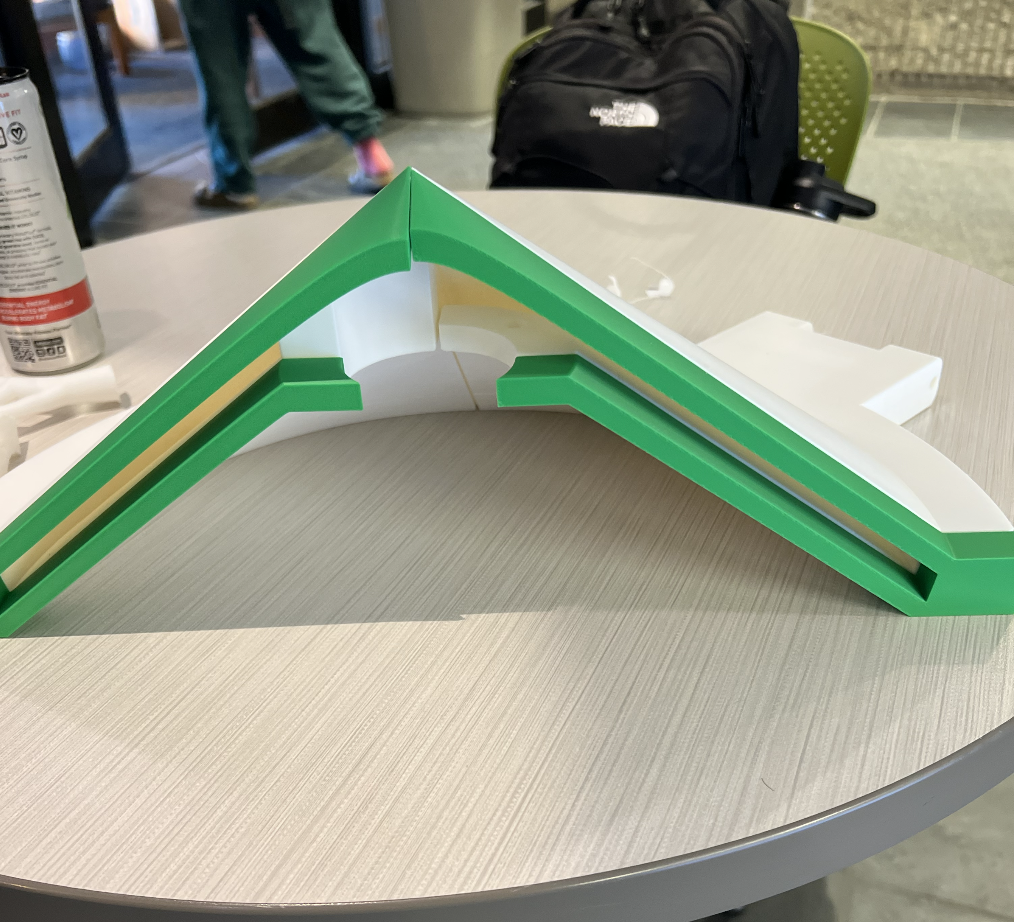
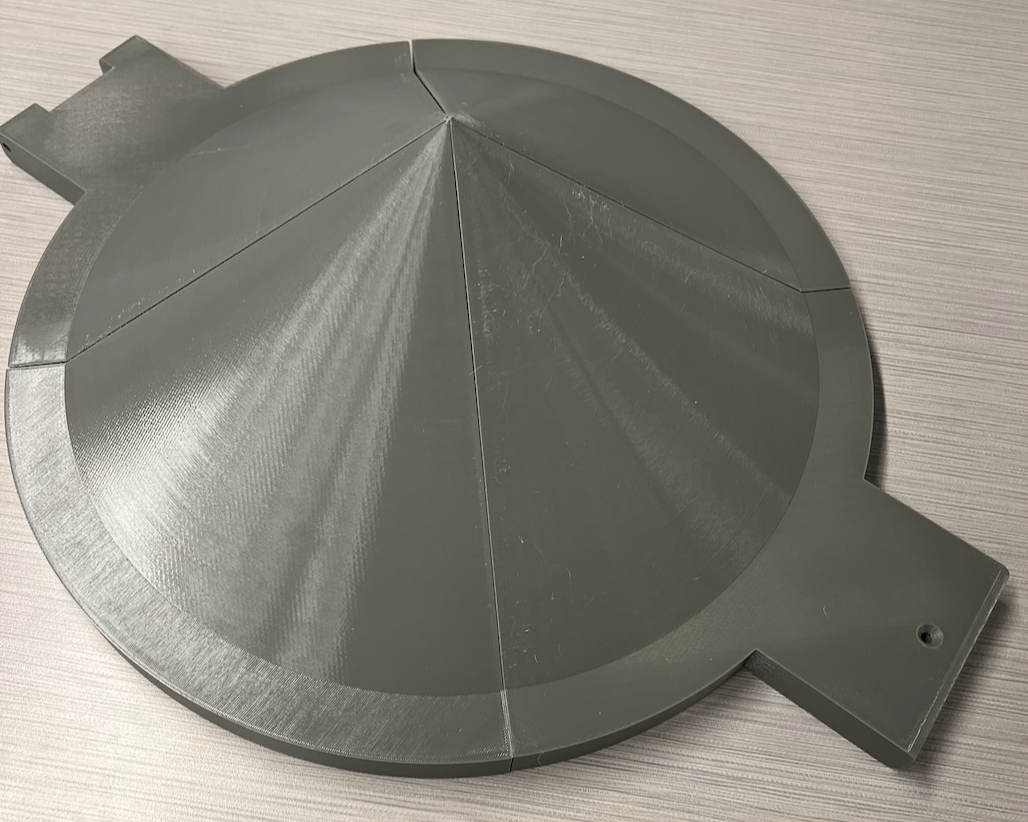
Lid Connection
Since the full-size lid could not fit on a print bed, it needed to be divided into 4 sections. This print tested the connection between the 4 sections. The white pieces are full-size, and the green pieces are just the connection points of the other half of the lid. This print confirmed our tolerances.
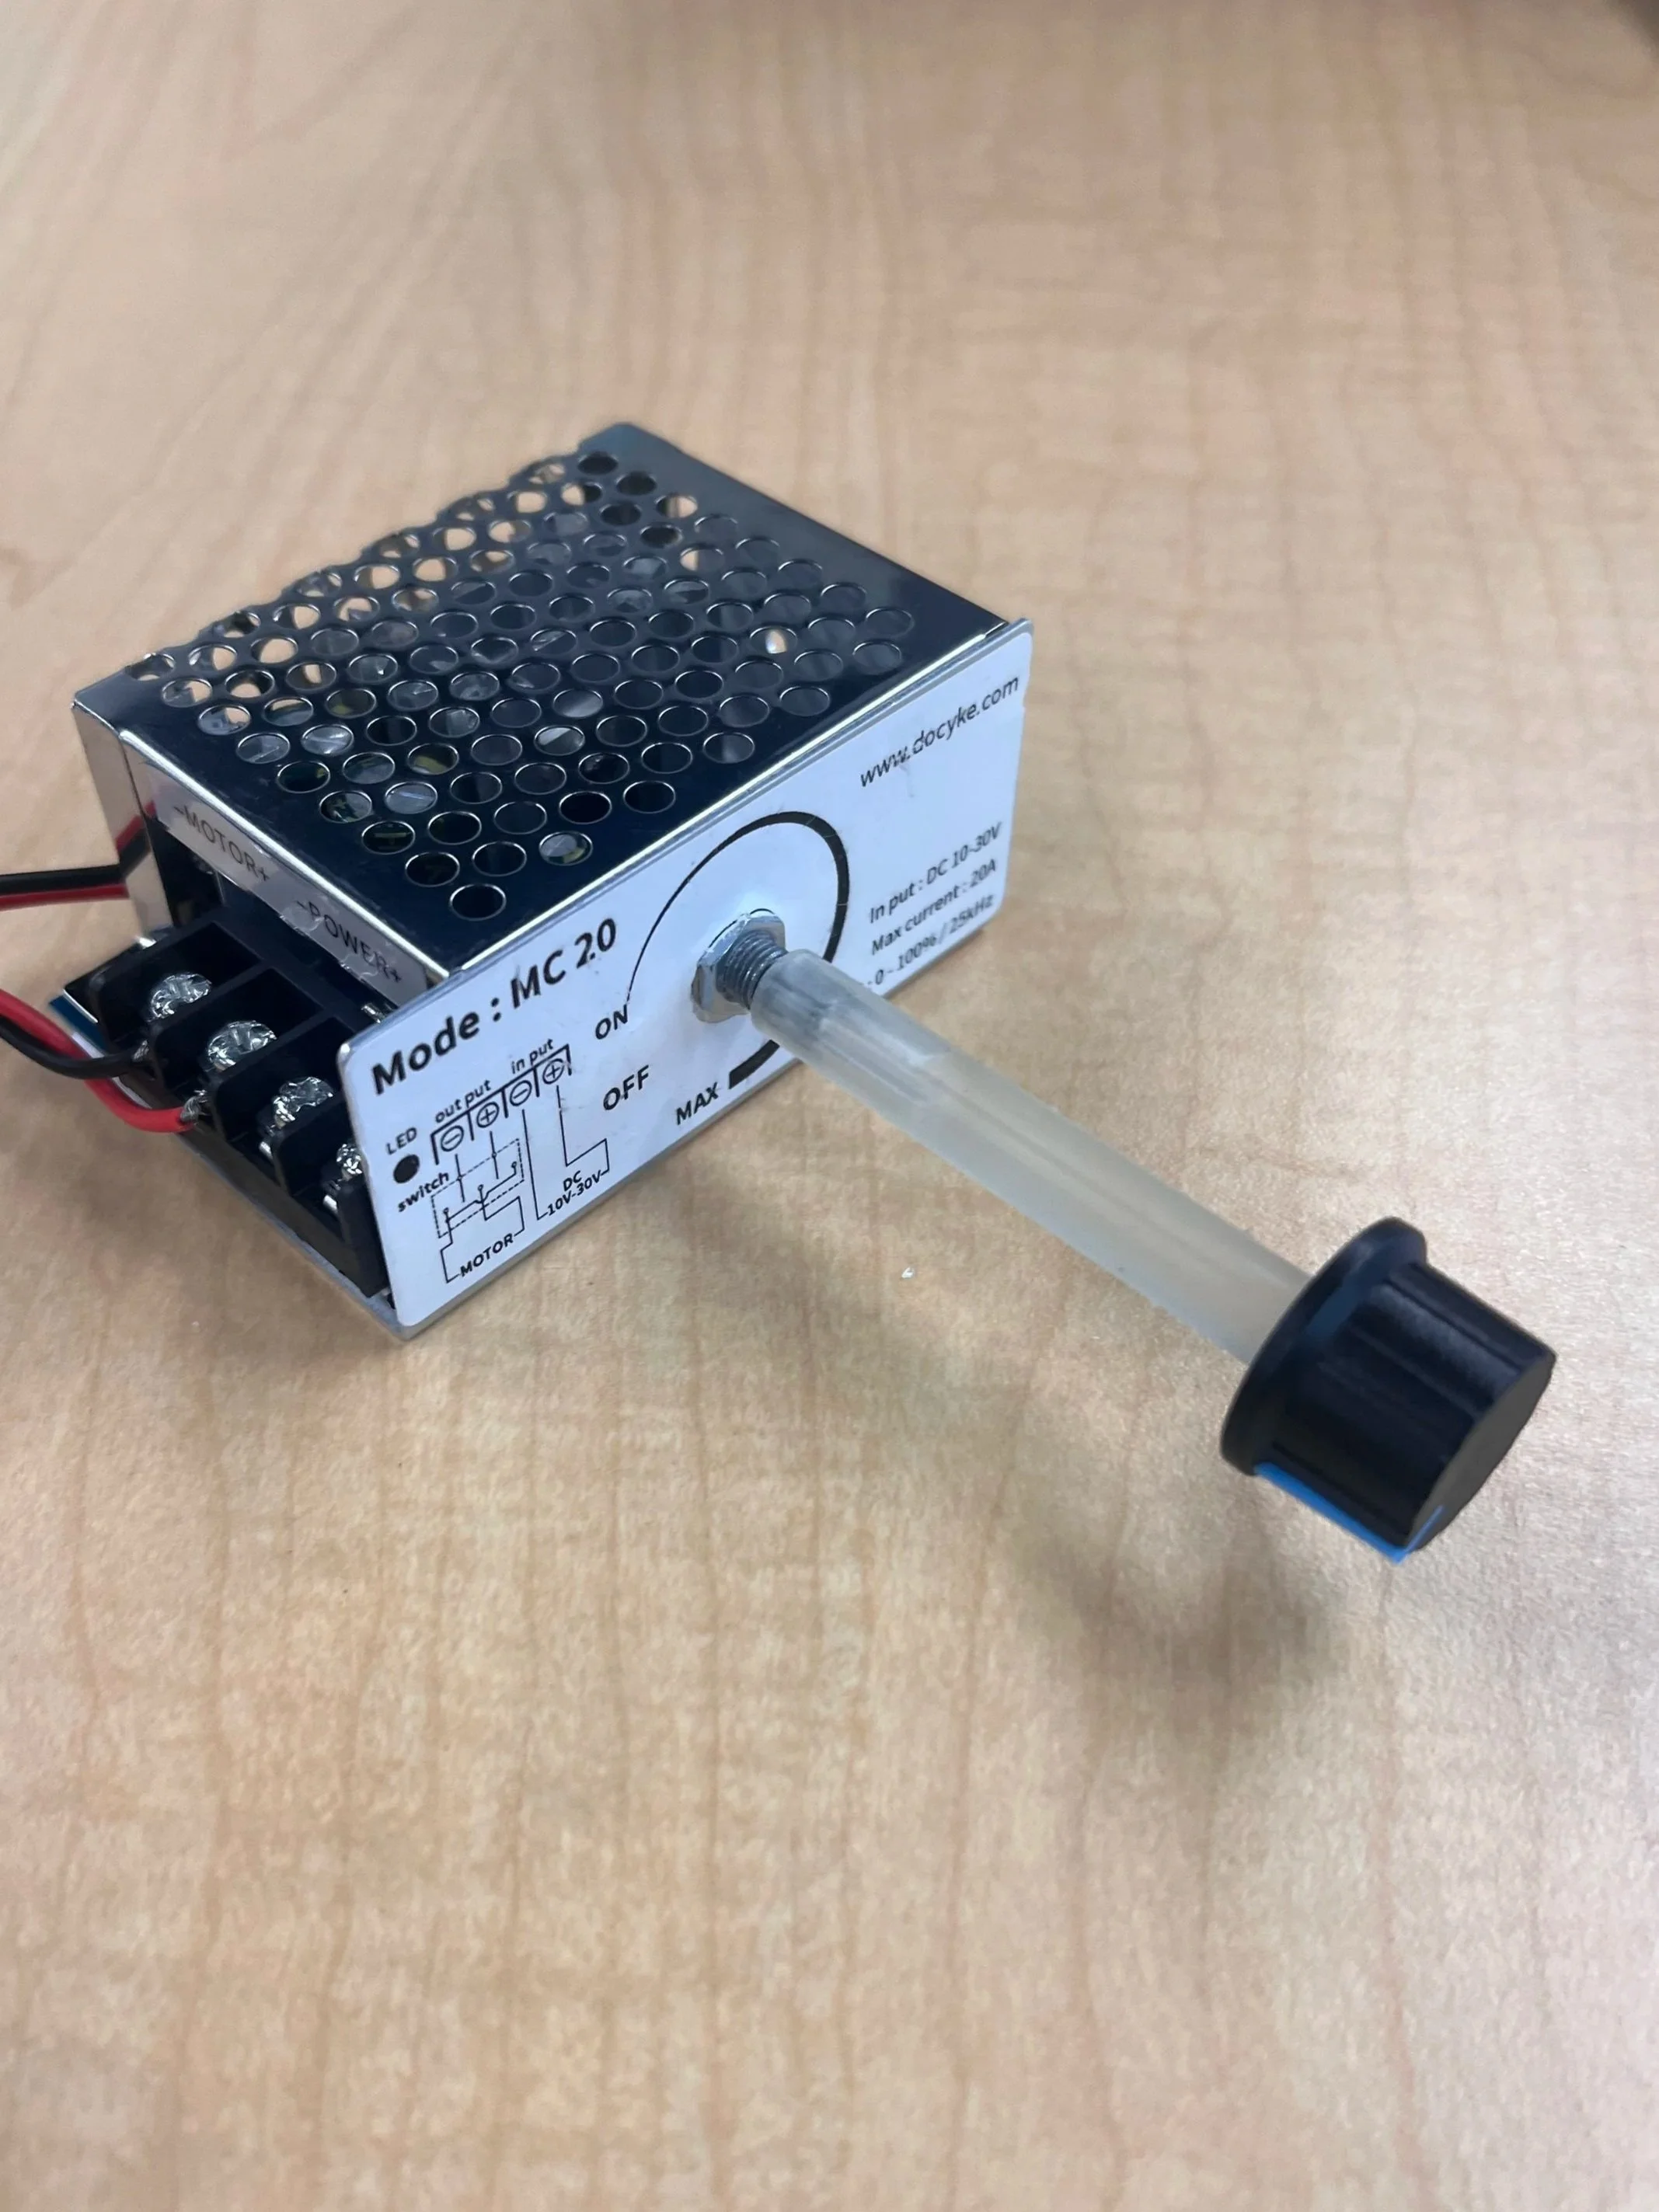
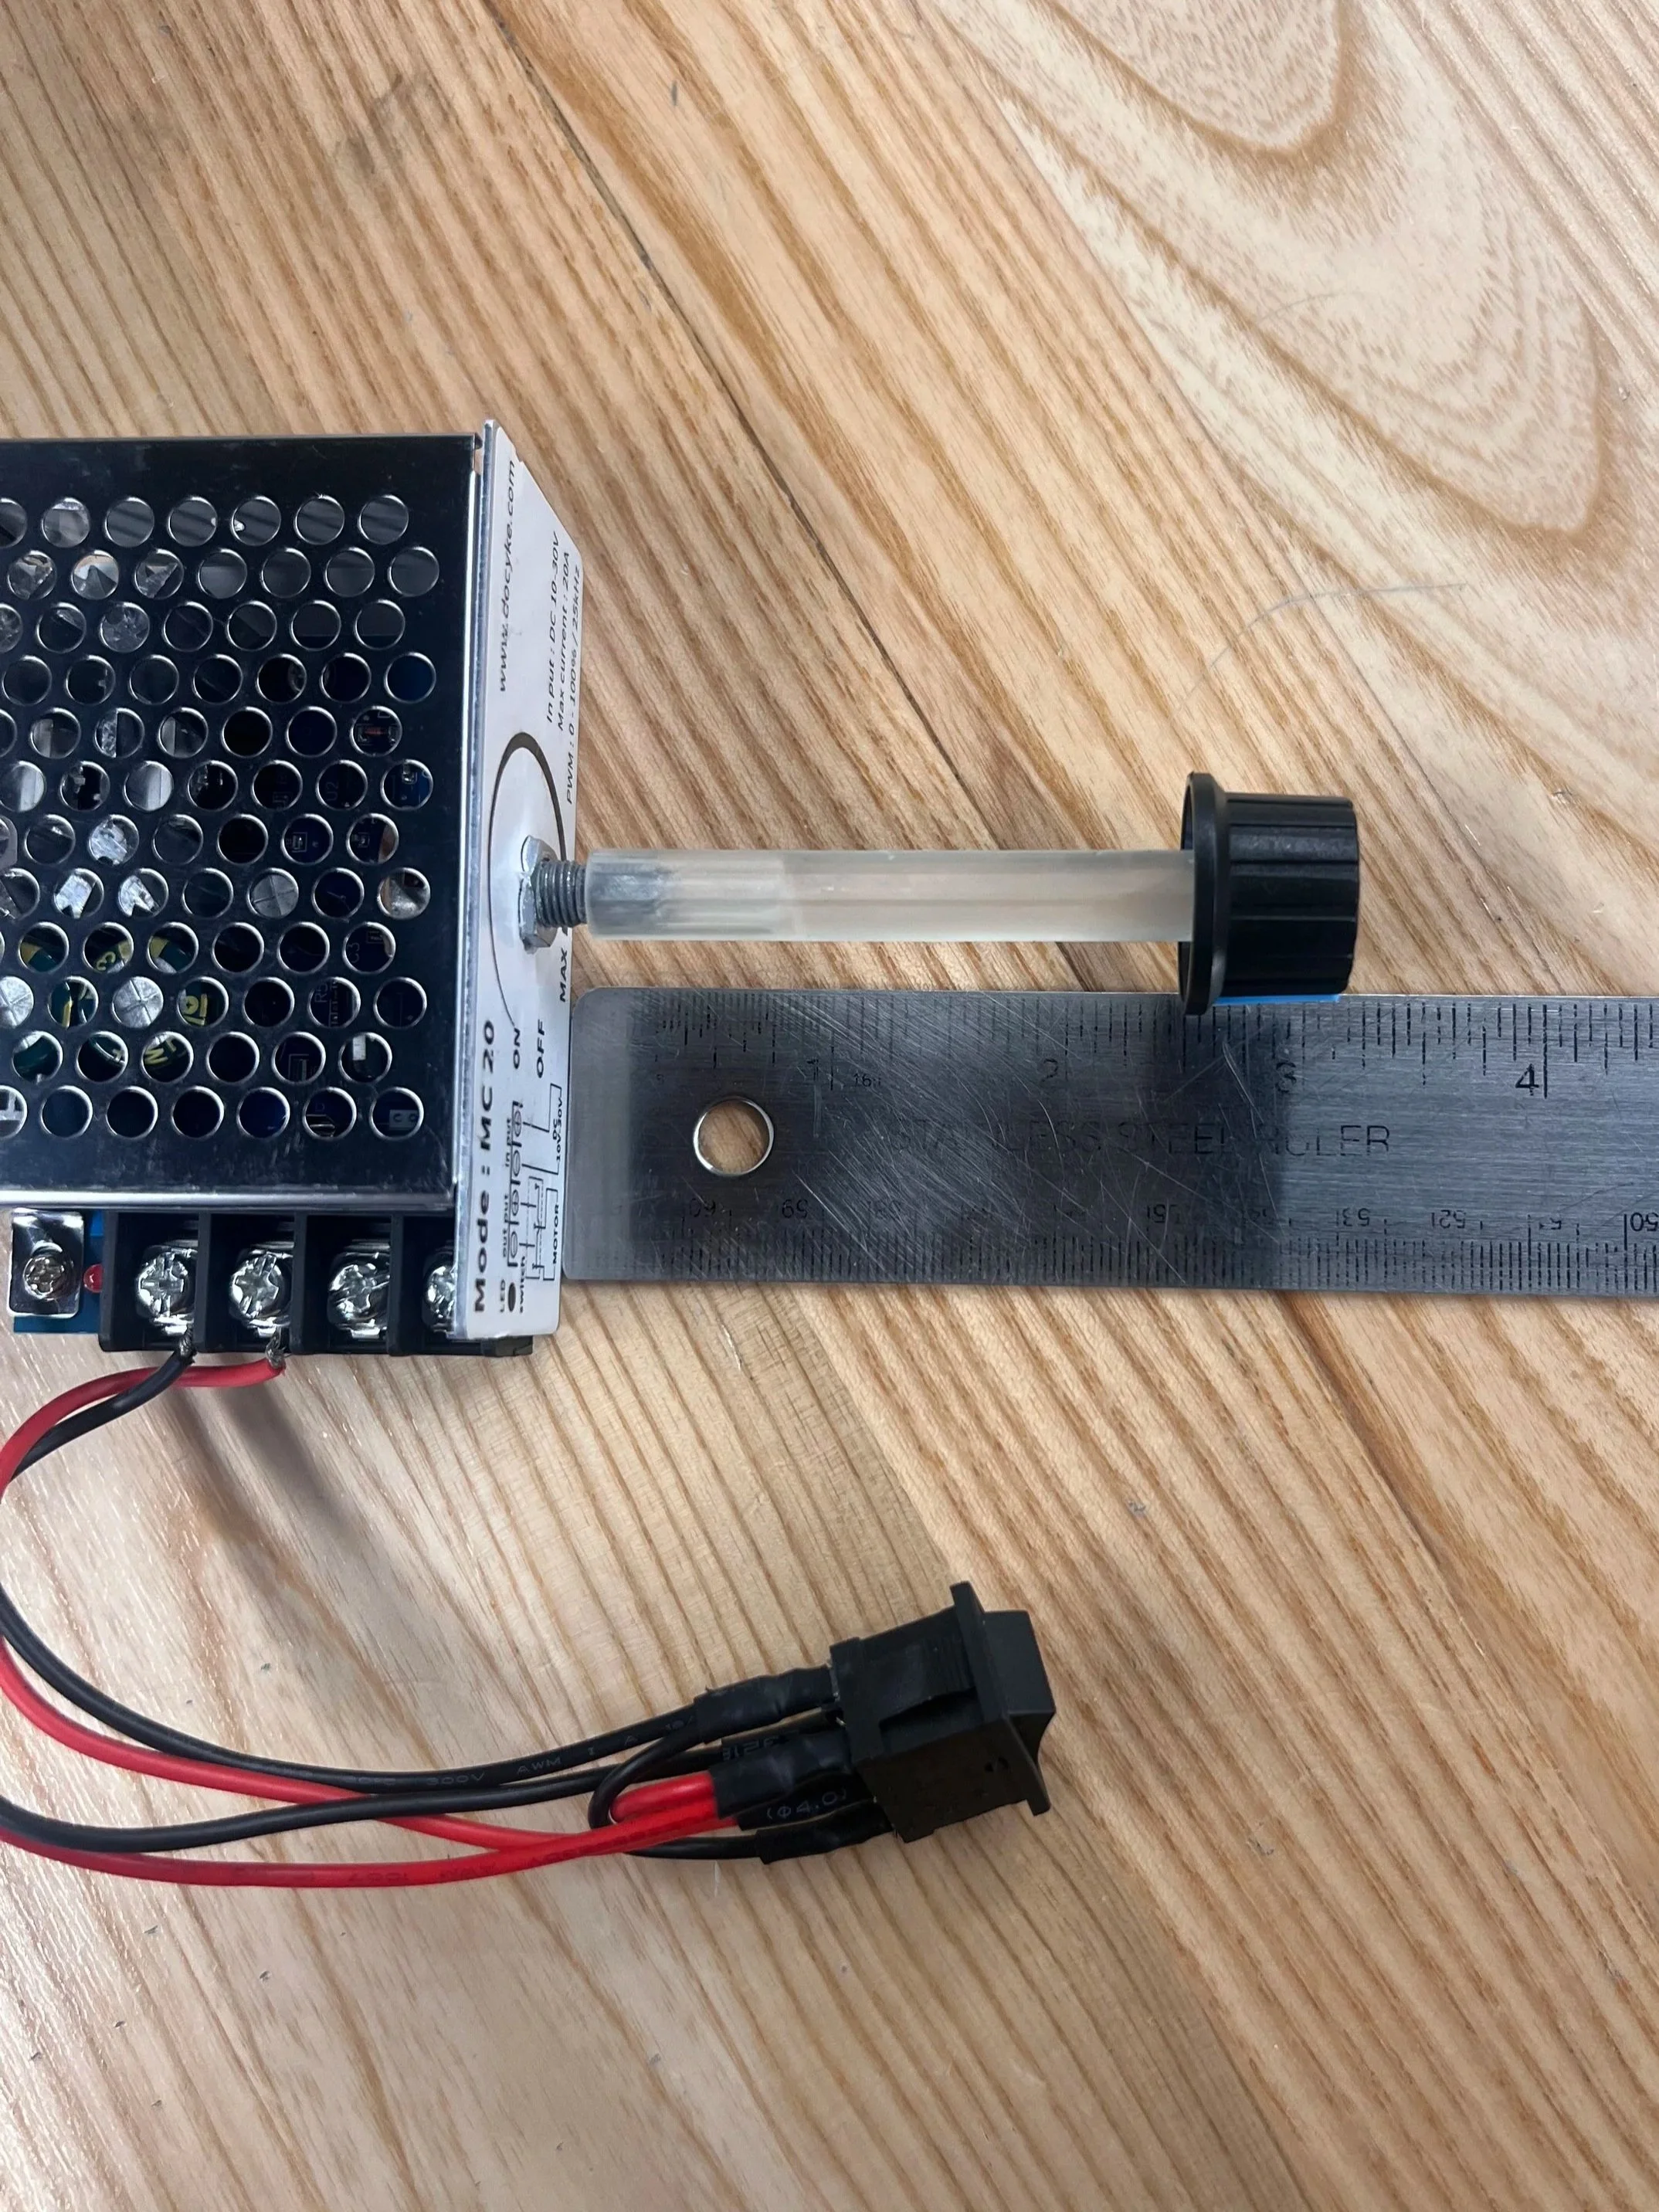
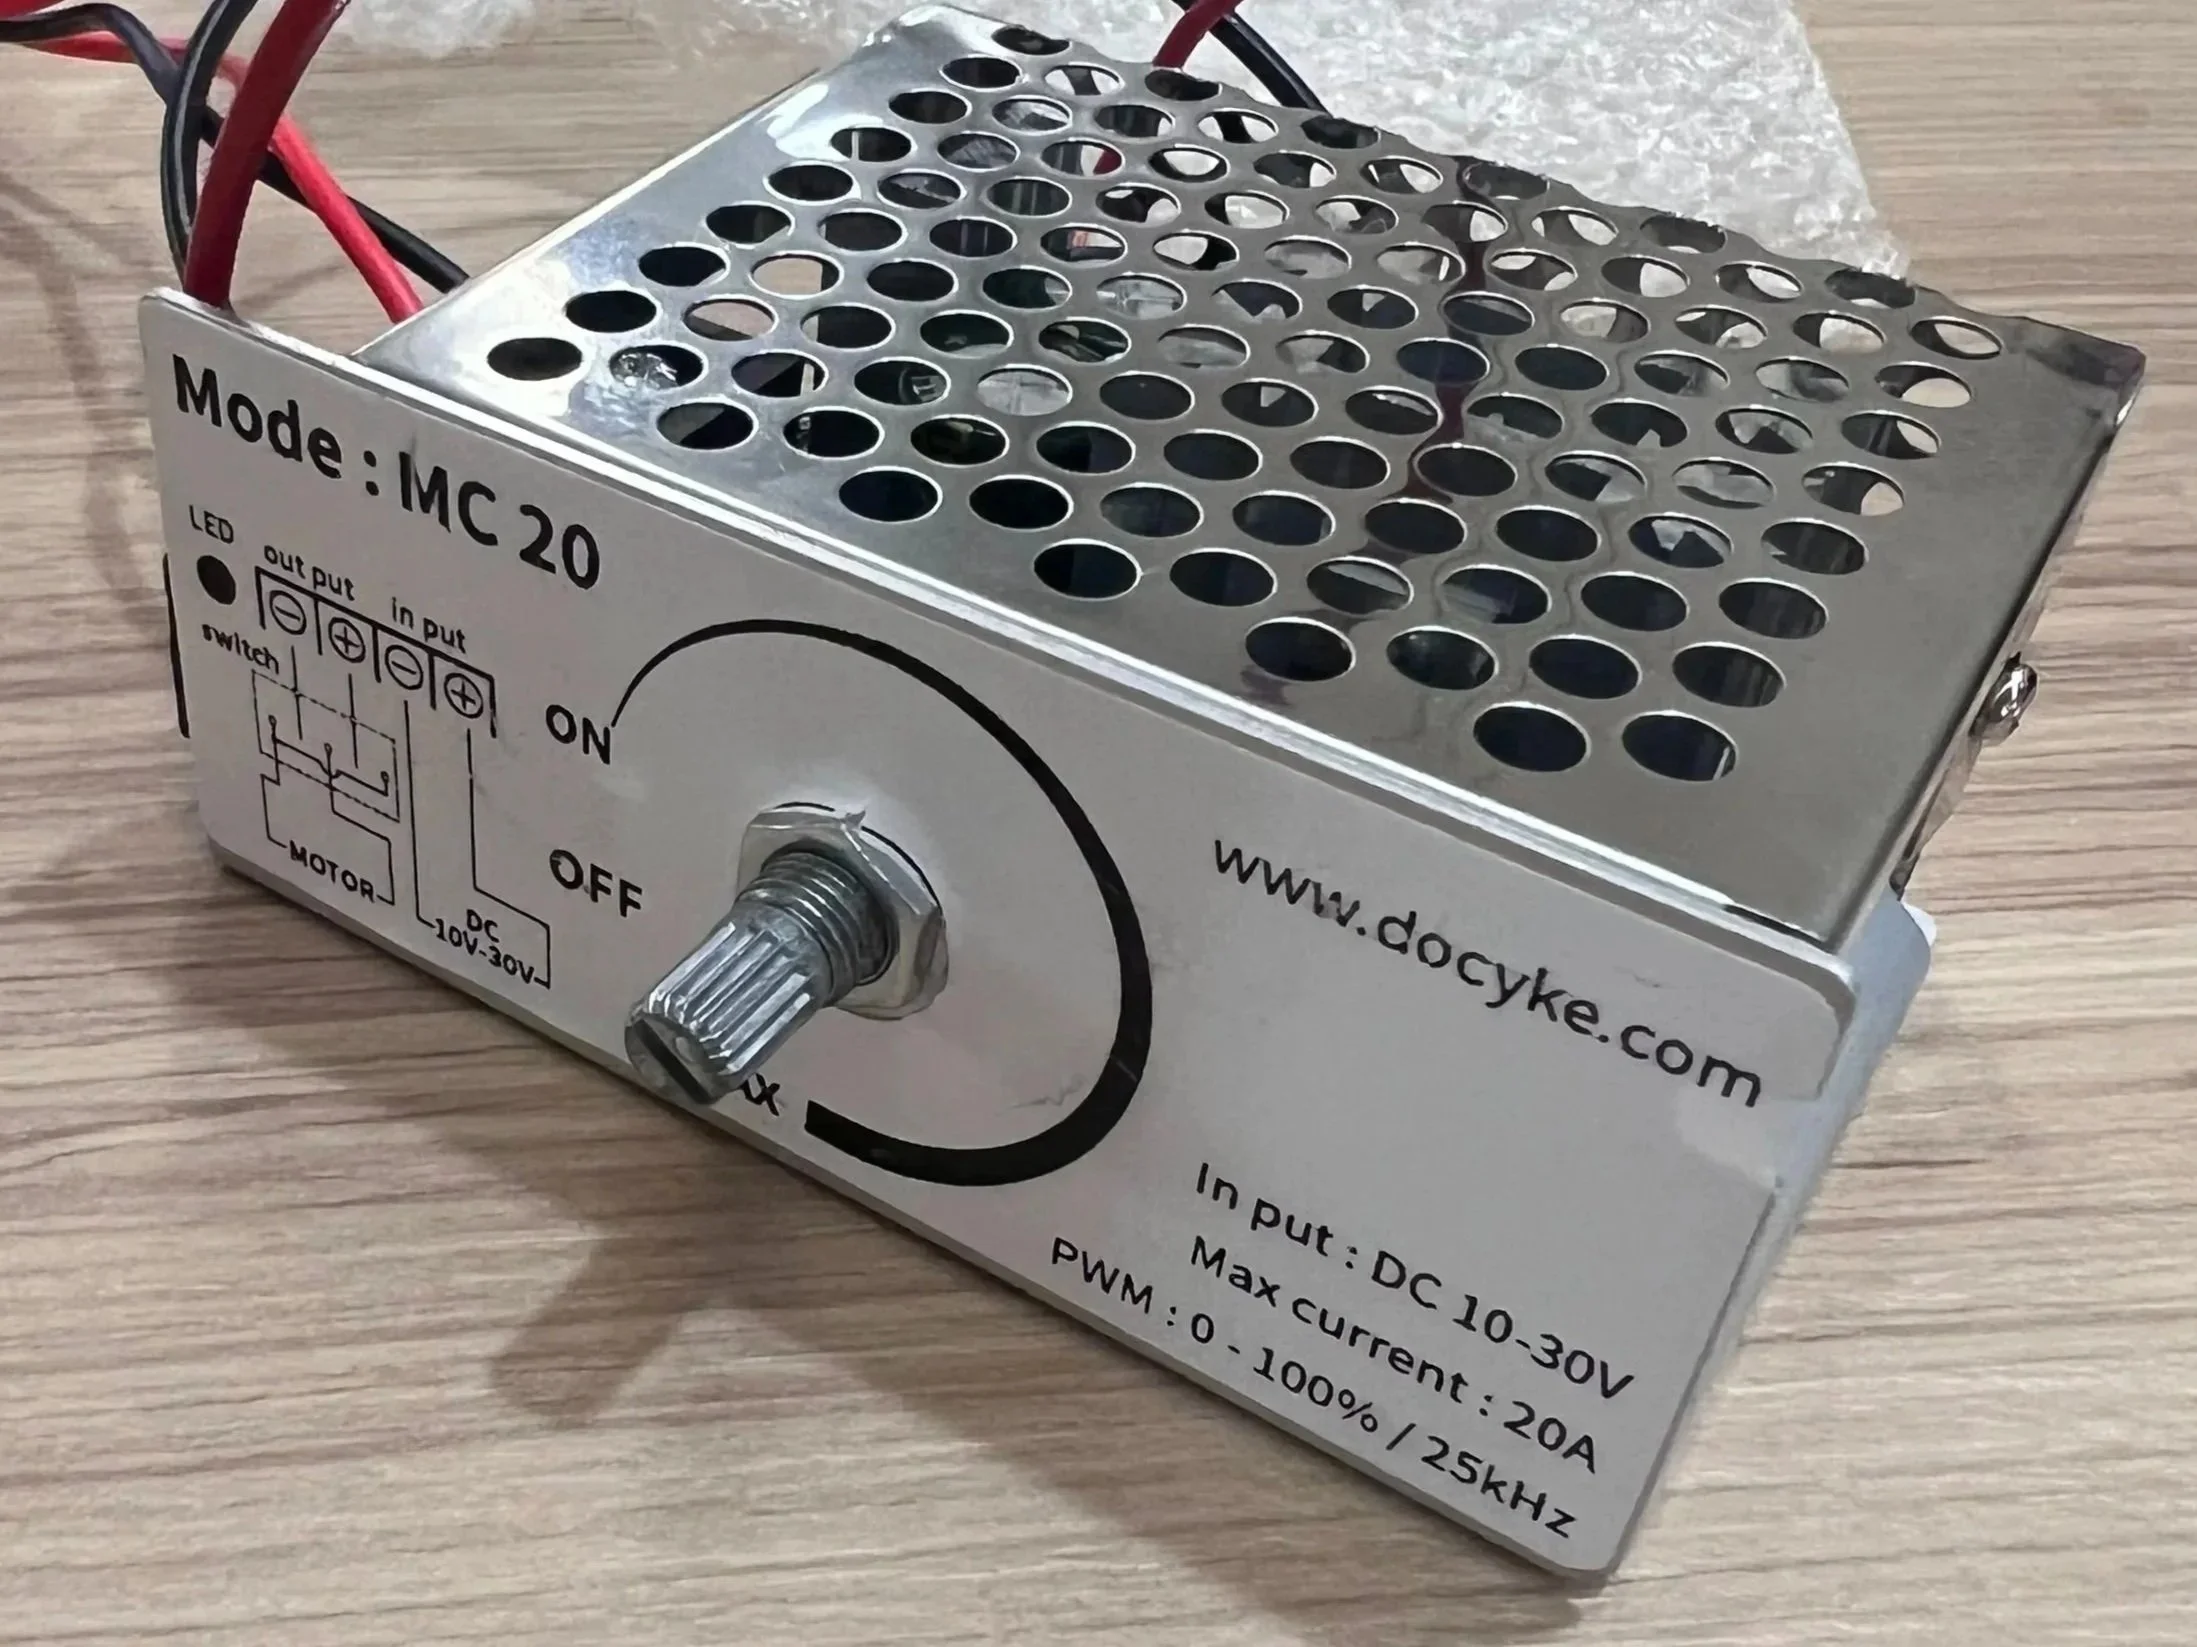
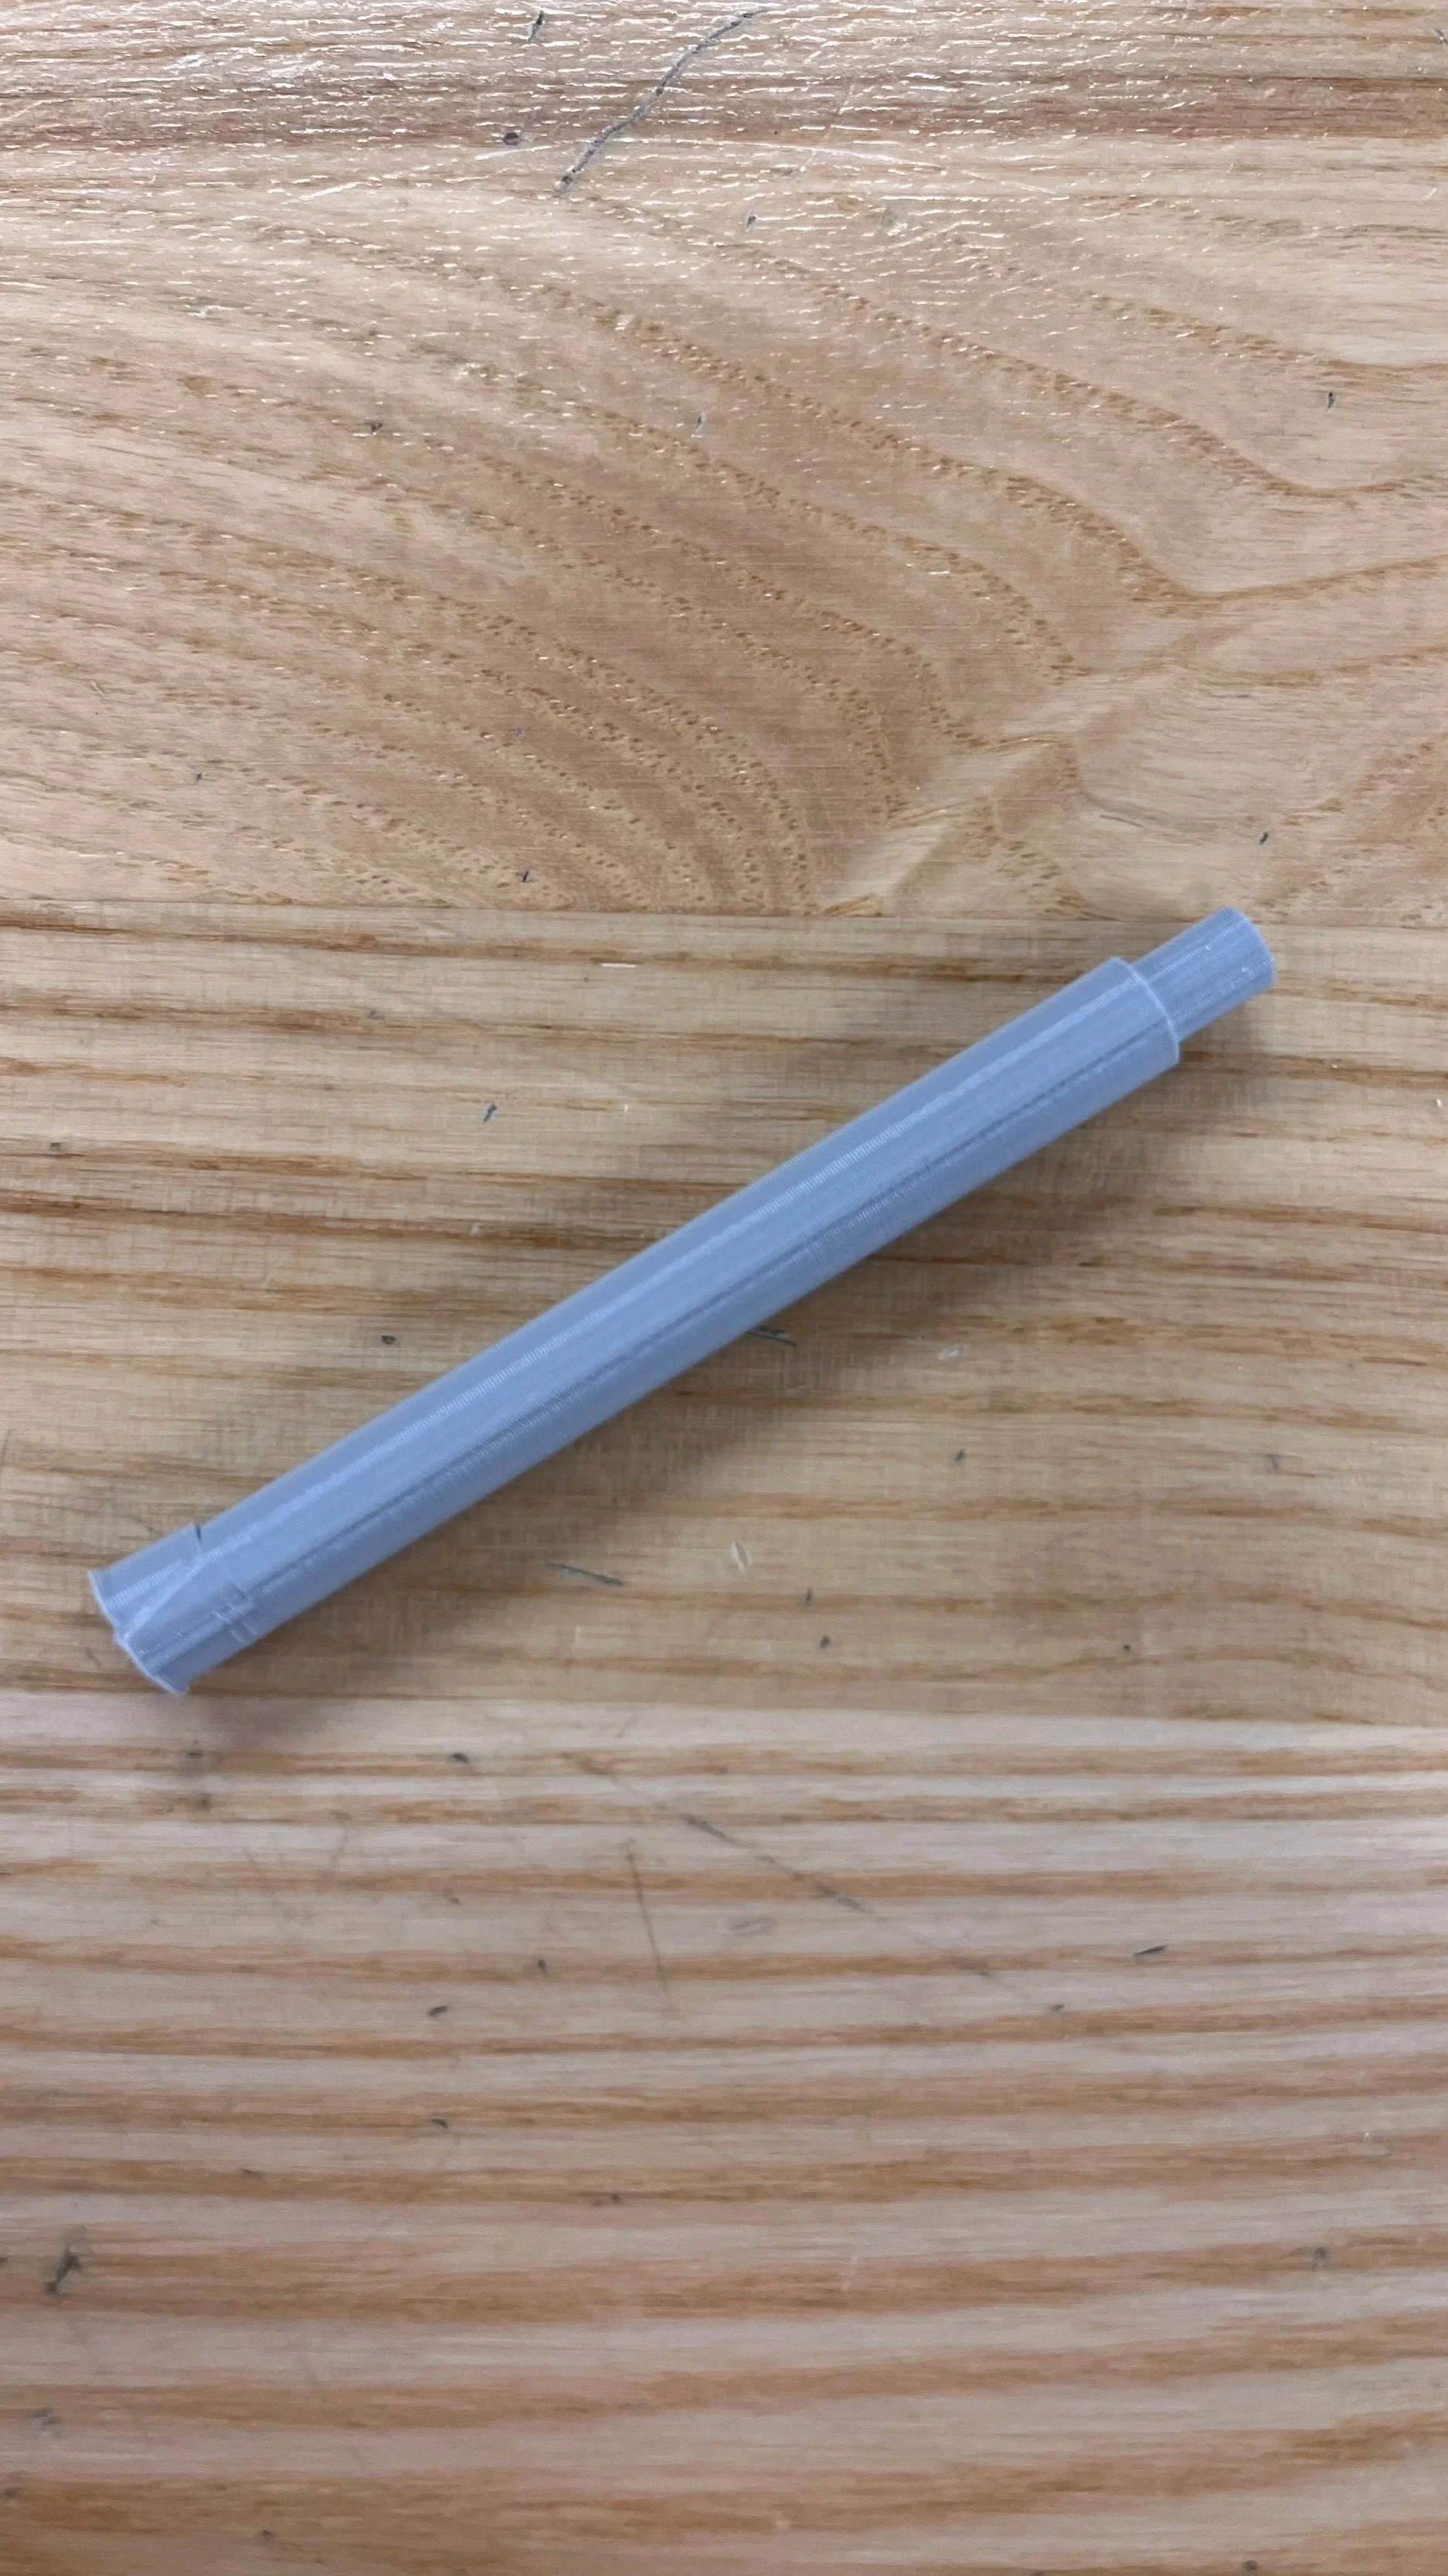
Potentiometer Knob Extension
Original Motor Controller and Knob
For the player to use the potentiometer knob without seeing the potentiometer, the shaft needed to be extended to be accessible outside of the housing.

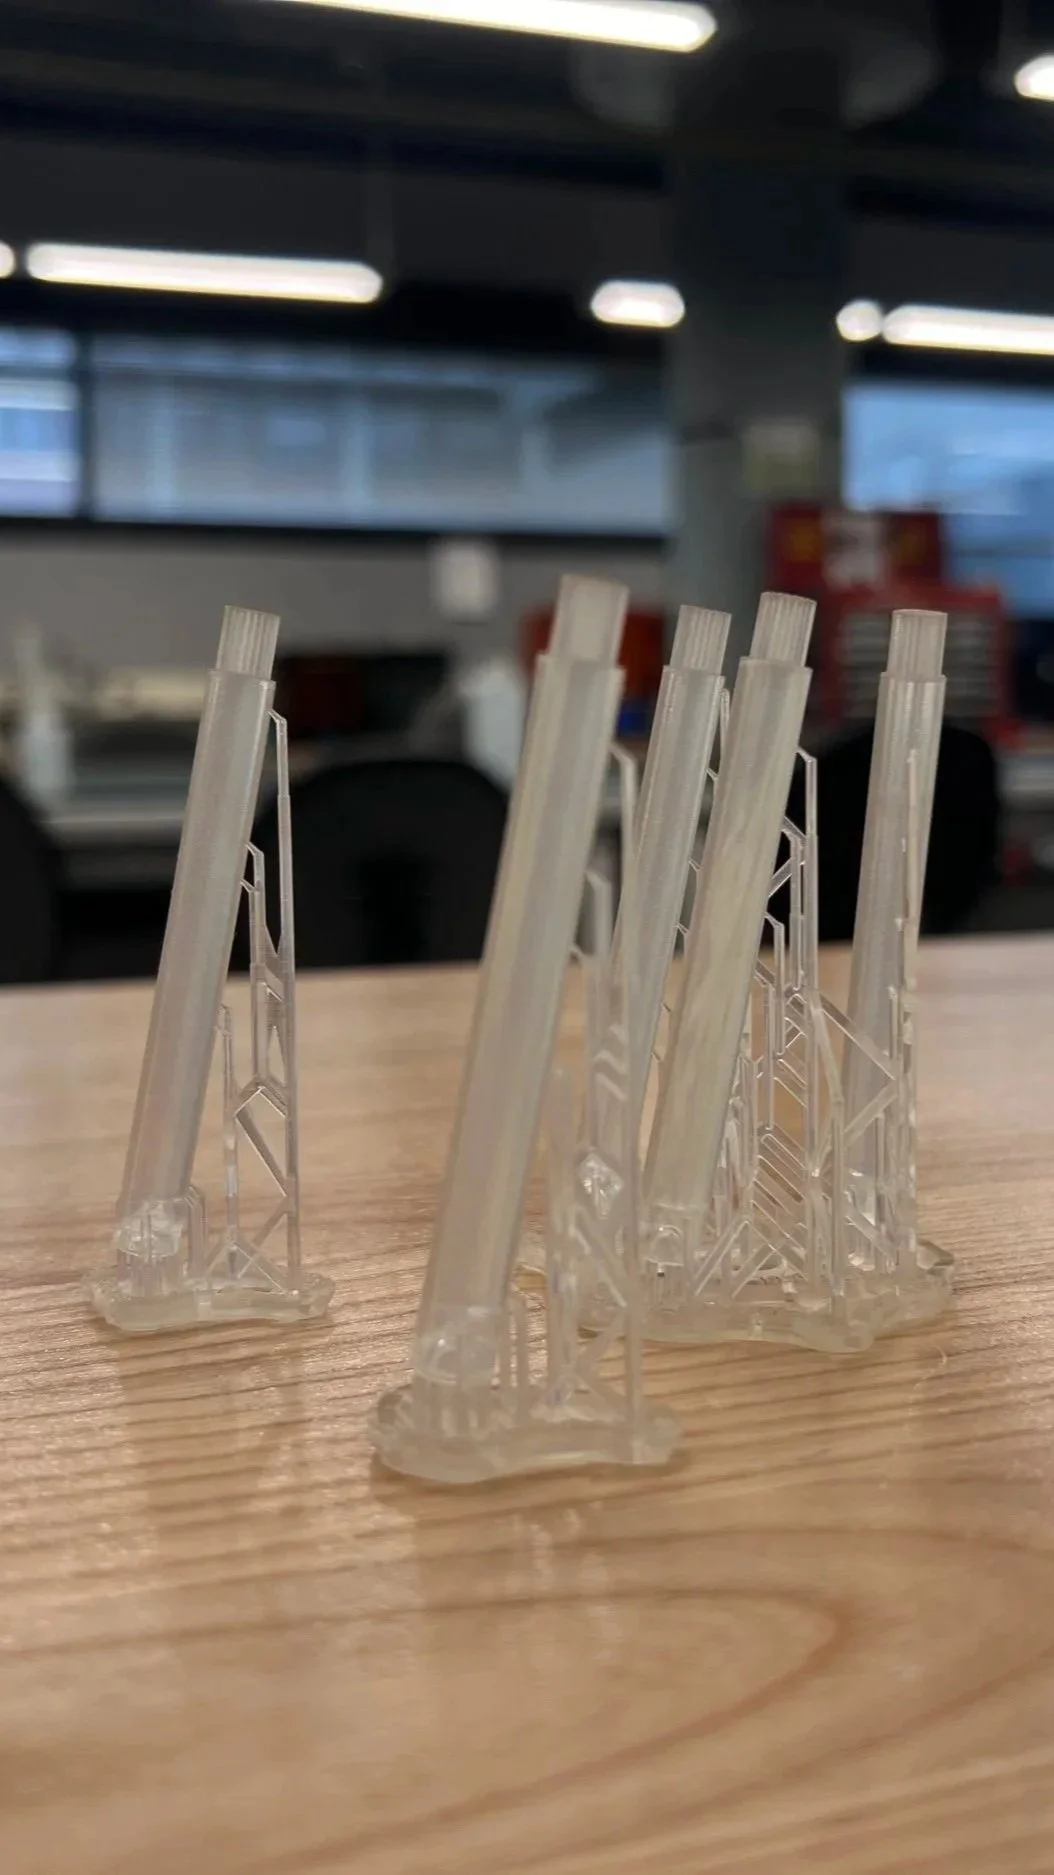
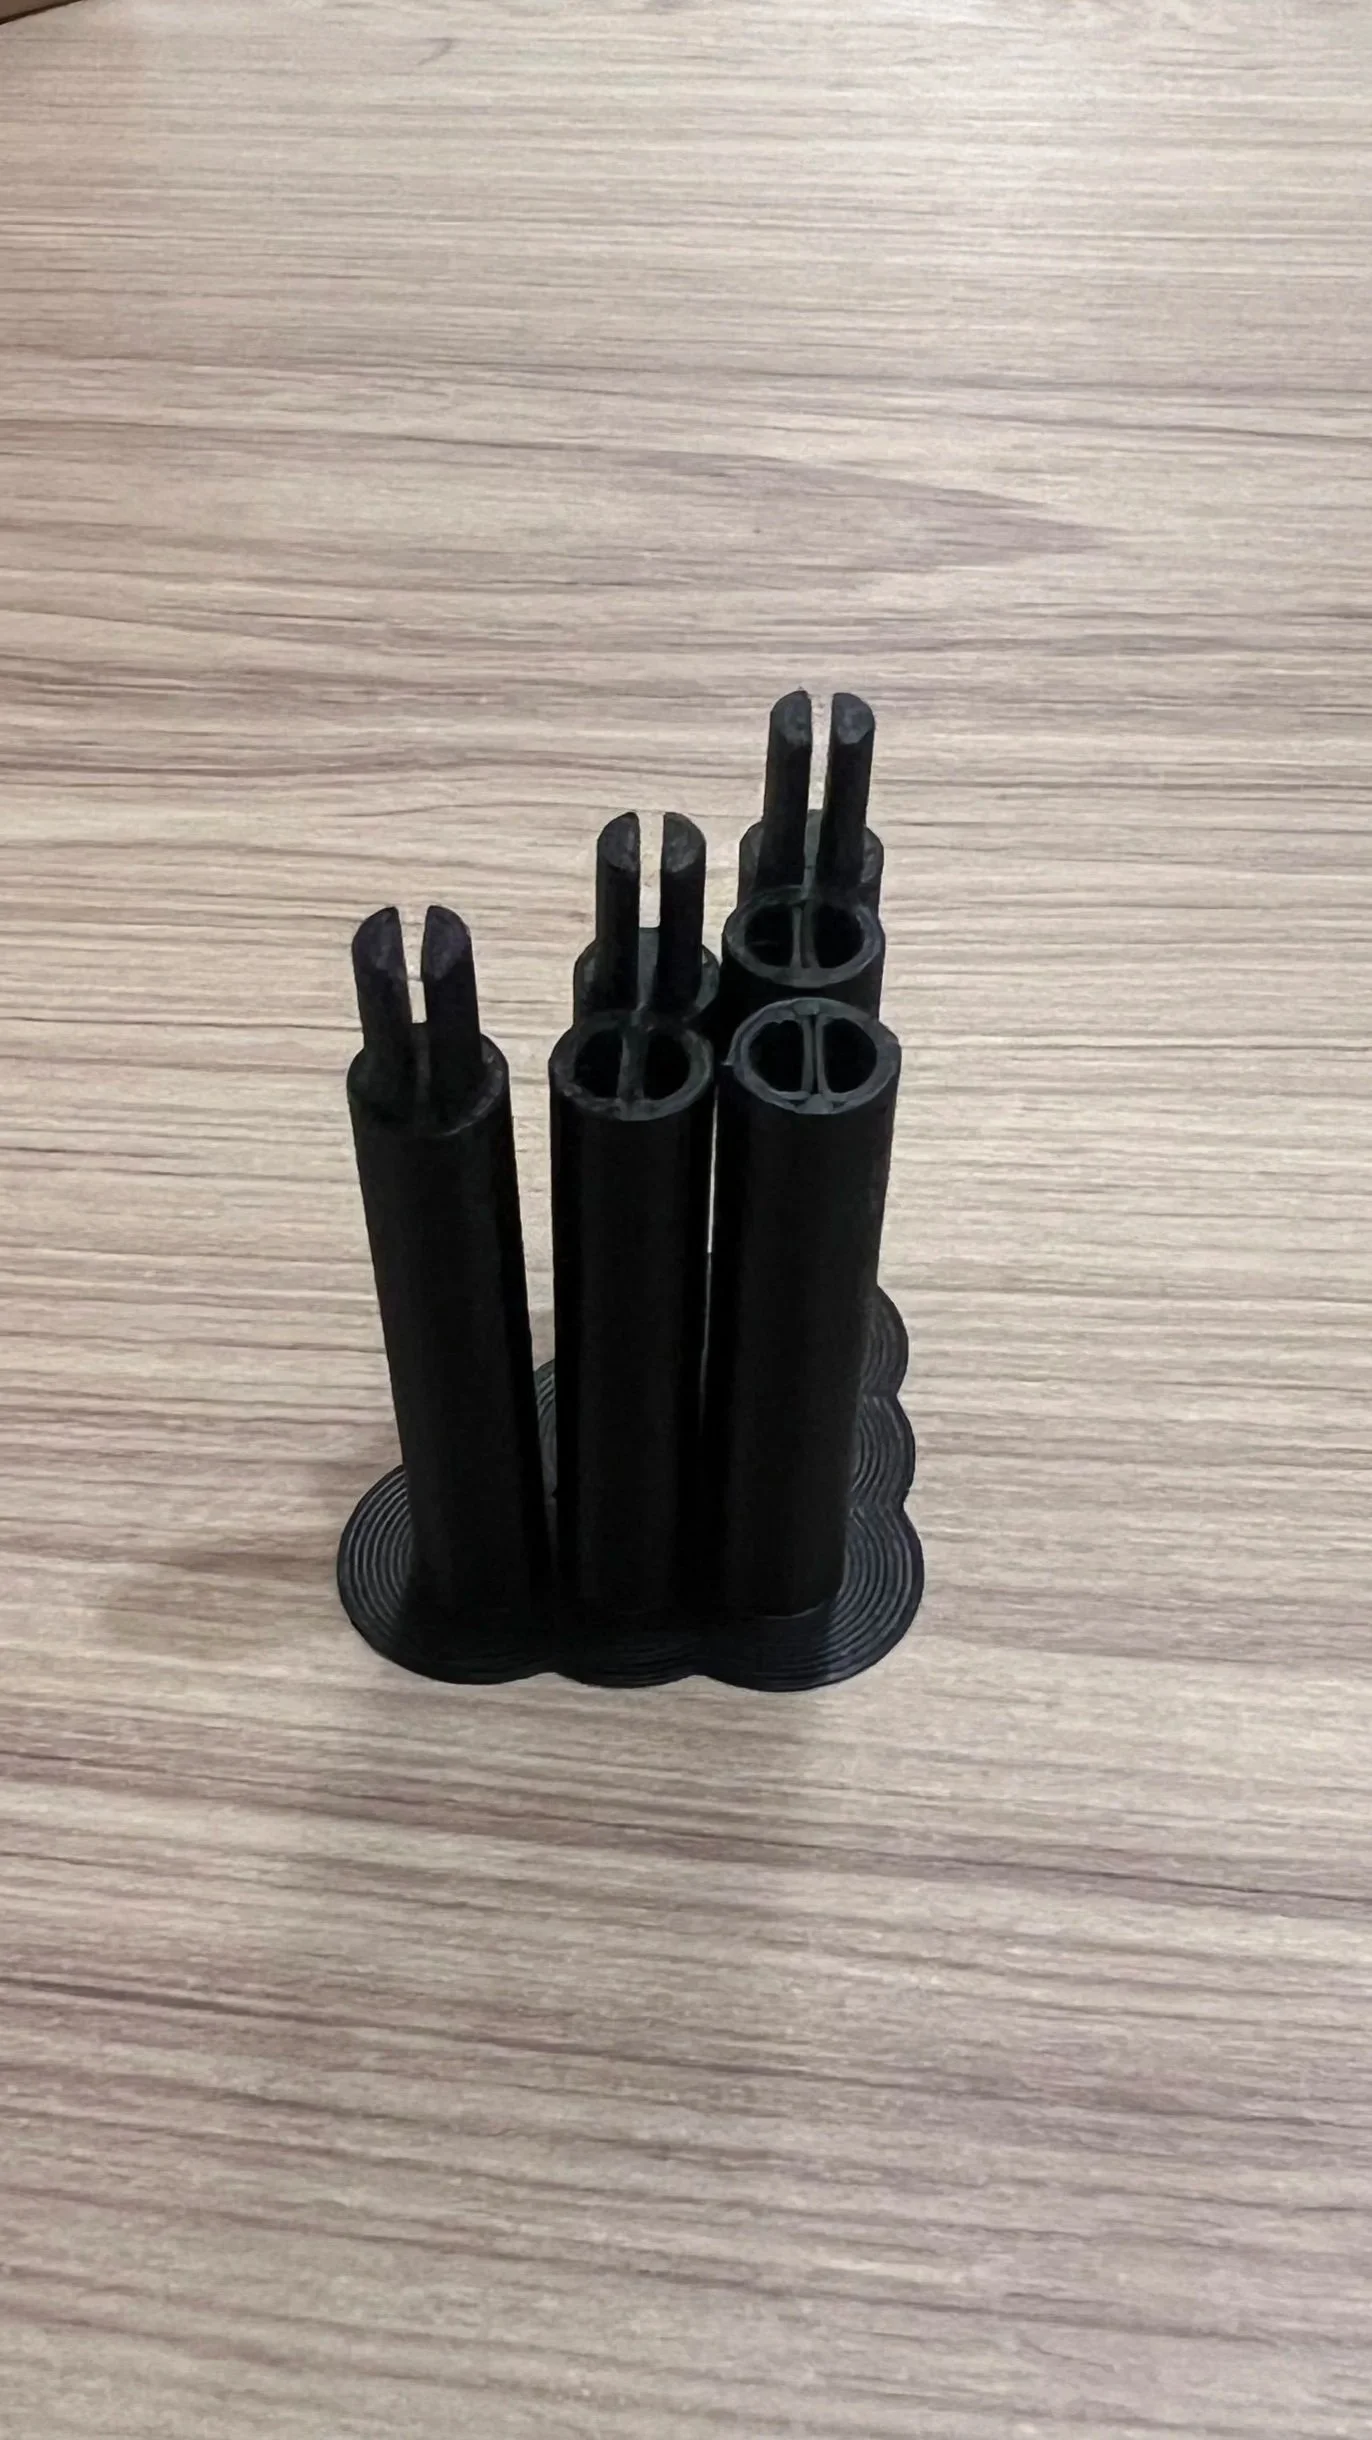
Print Iterations
The detail needed could not be achieved in a filament 3D printer, as shown in the first two photos below. The last photo is a prototype using a resin printer, which provided the fine detail for the knob to be functional.
Final Printing and Assembly
Base (Print IP)
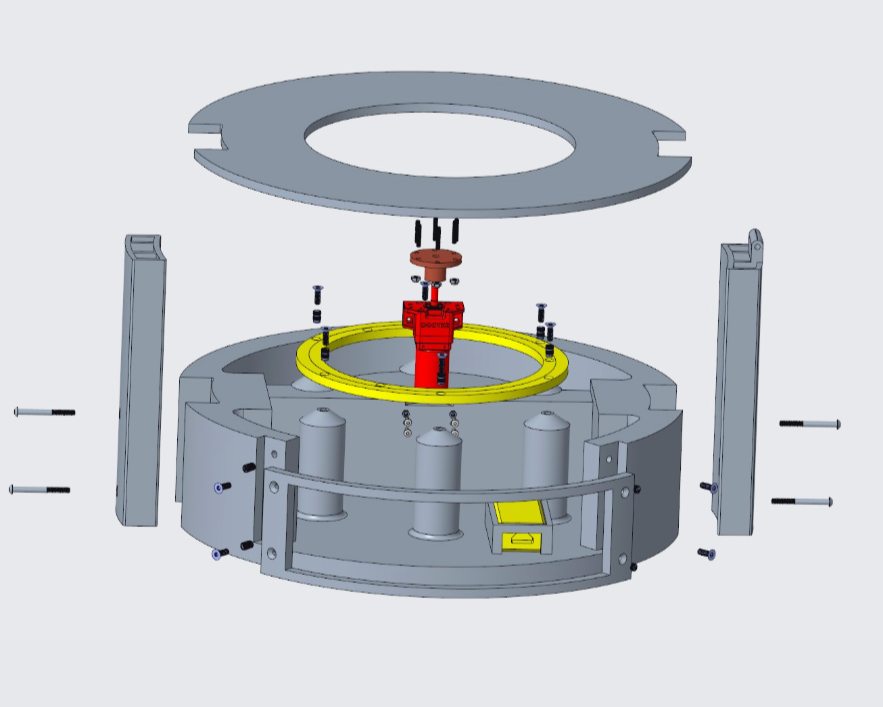
Drum
Lid
Potentiometer Knob Extension